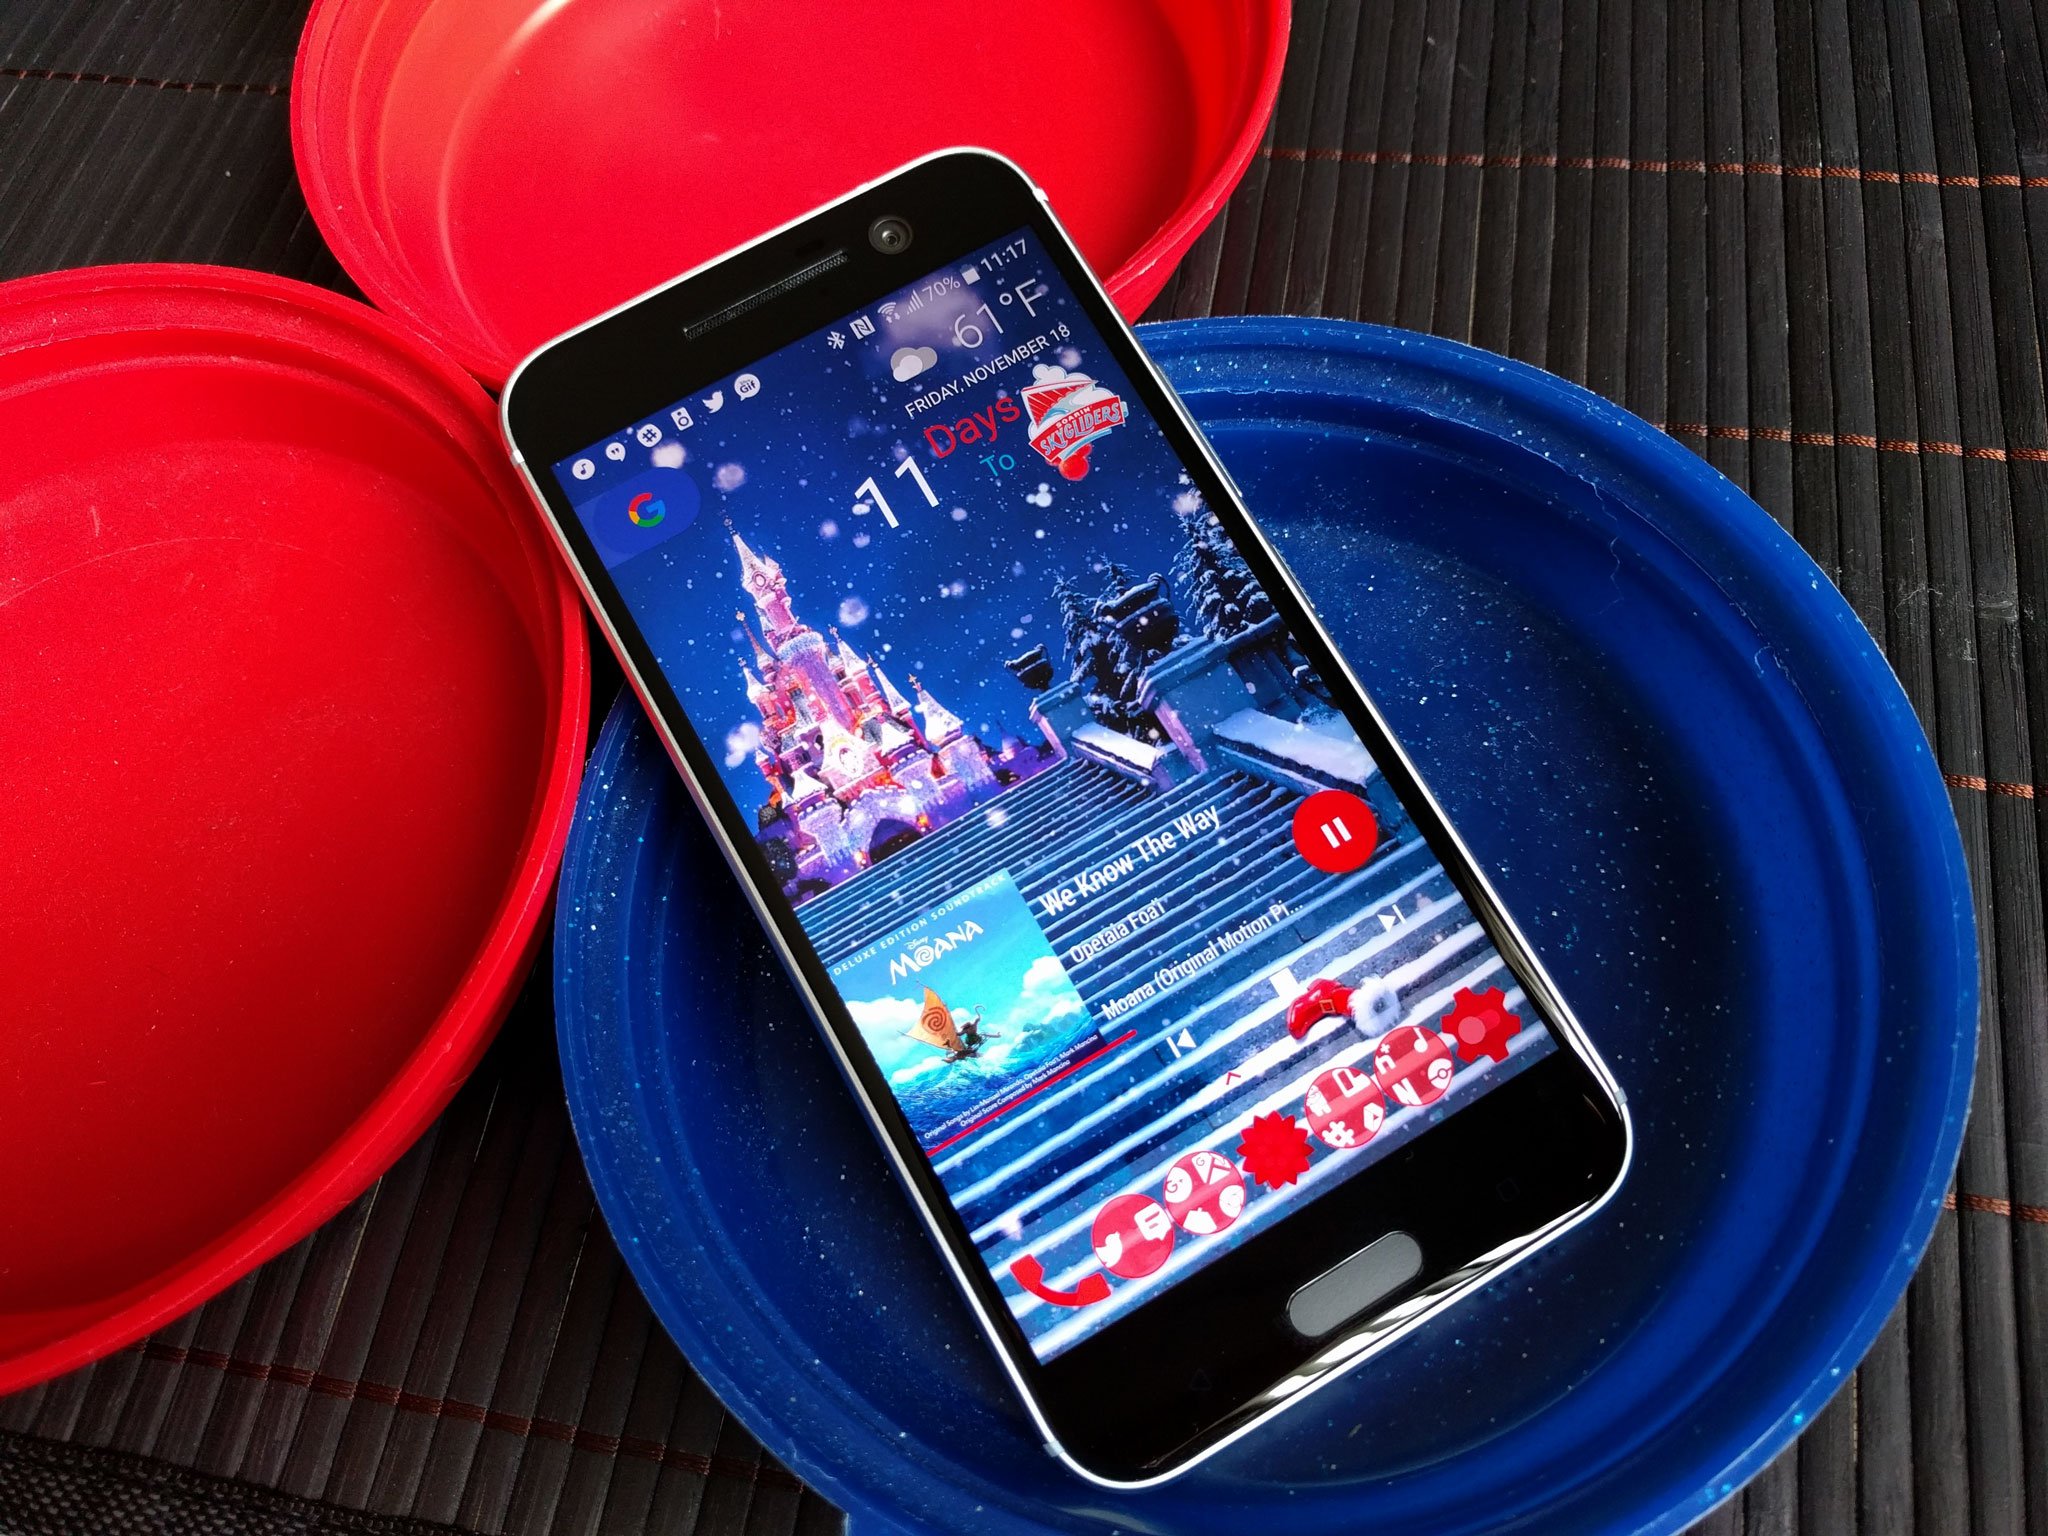
Everything you need to know about rooting your Android
While your Android isn't in the same sort of jail an iPhone lives in, rooting can help you break out.
If you've researched anything about Android on the internet, you've
probably seen and read about "rooting" one. There was a time when many
of the Android phones available didn't live up to their potential, and
root was the answer. Horrible software
was the norm, applications that you would never use ran amok and wasted
data and battery life, and the experience was bad all around.

Because every Android phone is running the Linux kernel and
middleware very similar to a Linux distribution you would install on a
computer under the hood, rooting them was the way to allow us to try and
fix them our own way. Rooting is how you get complete access to
everything in the operating system, and those permissions allow you to
change it all. Modern Androids are quite a bit better than they used to
be. Even the most inexpensive
phone or tablet you can buy in 2016 will do more and perform better
that the best Android phone available just a few years ago. But many of
us still want to root our phones and are looking for more information.
Table of contents
- What is root?
- Should I root?
- Getting ready
- Commercial root apps
- How to root
- Samsung
- LG
- HTC
- Motorola
- Nexus
- Other phones
- What's next?
What exactly is root?
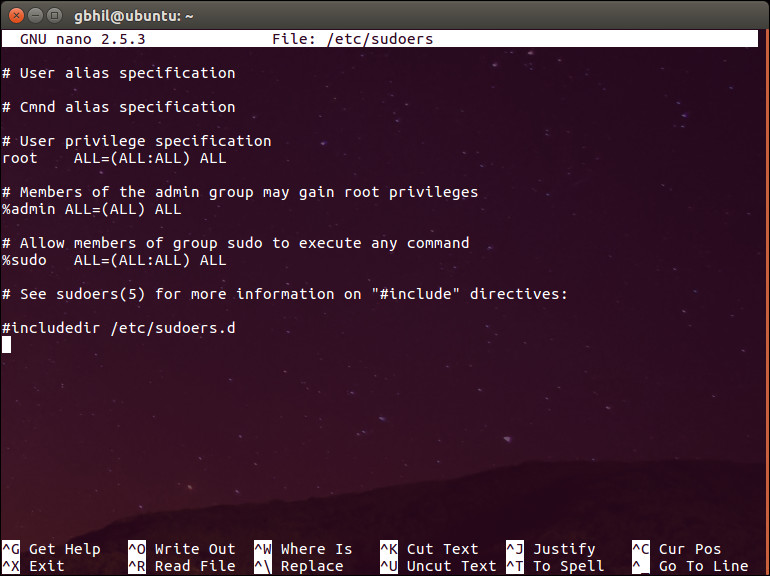
When you root your Android, you're simply adding a standard Linux function that was removed.
Root, at least the way we're talking about it here, is the superuser. Your Android phone uses
Linux permissions
and file-system ownership. You are a user when you sign in, and you are
allowed to do certain things based on your user permissions. Apps you
install are also given a type of user ID, and they all have permissions
to do certain things — you see those when you install them on older
versions of Android, or you are prompted to allow them on Marshmallow
or higher — in certain folders with certain files. Root is also a user.
The difference is the root user (superuser) has permissions to do
anything to any file any place in the system. This includes things we
want to do, like uninstall application forced on us by the people who
built them or the people who sells them to us as well as things we don't
want to do that can put your Android in an unusable state. When you're
doing things with superuser permissions, you have the power to do
anything.
When you root your Android, you're simply adding a standard Linux function that was removed. A small file called
su
is placed in the system and given permissions so that another user can
run it. It stands for Switch User, and if you run the file without any
other parameters it switches your credentials and permissions from a
normal user to that of the superuser. You are then in complete control,
and can add anything, remove anything and access functions on your phone
or tablet that you couldn't reach before. This is pretty important, and
something you should think about before you begin.
Should I root my Android?
Yes. No. Maybe. All three answers are perfectly valid. People have
different reasons to want to root their devices. Some do it just because
they can — they paid for the hardware and think they should be able to
do anything they like. Others want to be able to add things that aren't
there, like internet servers or be able to "fix" services that are there
but don't work the way they would like them to work. People might buy a
phone because they like the hardware, but hate the software and want to
change it. Mostly, people root their phones because they simply want to
get rid of the extra things on it that they don't want. Every one of these reasons — as well as any reason you might have that aren't mentioned here — are the
right reasons.
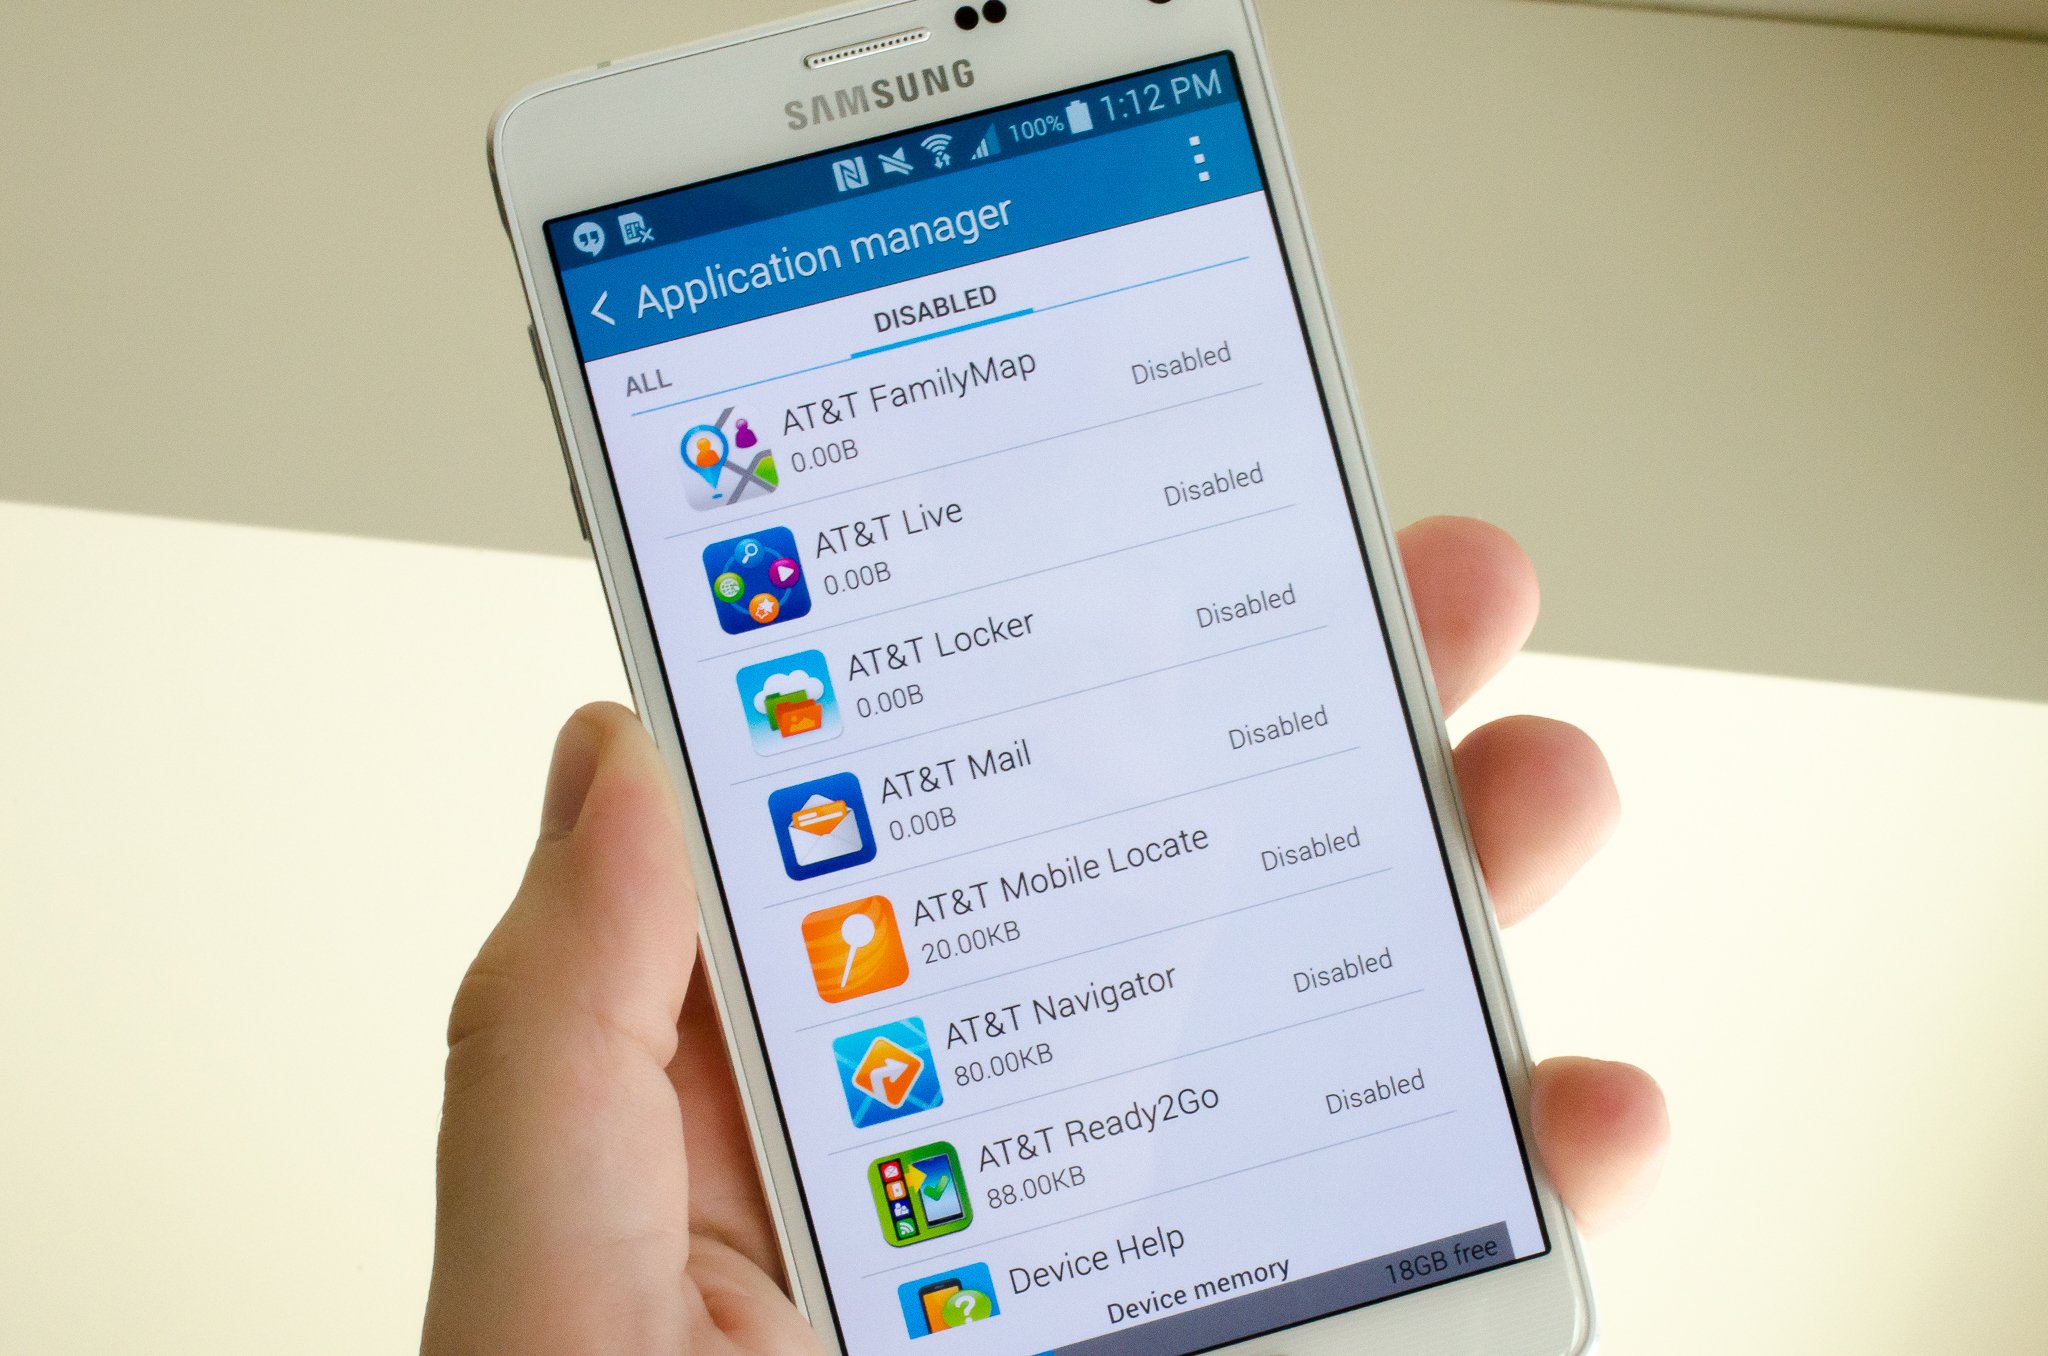
Most people want root to get rid of the bloat.
Before you do any preparation to root your phone, you need to
remember that it changes everything about the inherent security from
Google and the people who built it. Plenty of us don't like it, but
being able to access an account with admin permissions was not included
in release versions of Android on purpose. As soon as you add this
capability, you are responsible for the security and integrity of the
operating system and every application on it. For some, this is more
responsibility than they want or need. Rooting isn't the answer for
everyone. If you're not sure about the ways you can break things by
doing them as root, you should learn more about it
before you
start. It's OK to not know things and to try and learn, but not knowing
and doing them anyway can turn a very expensive Android into a
paperweight. You also need to know that for many Android models, rooting
means your warranty is null and void. Services (including apps as well
as network access from your carrier) can be denied to you because of the
security risk when you're rooted. The risk is real, because so many
users go into it all blind and let security lapse. Not doing that is
your responsibility — take it seriously!
Finally, there are plenty of users who simply don't care about this
stuff. Any Android phone, no matter how restricted root access is, can
do just about everything we want or need from a pocket computer. You can
change the appearance, choose from over a million apps in Google Play
and have complete access to the internet and most any services that
live there. You can even make phone calls. It's great if you're happy
with what you have and what it can do, and aren't worried about trying
to fix what isn't (in your eyes) broken.
Getting ready to root
You'll need to do a few things to prepare your phone for rooting,
depending on which method you use. Many of the ways require you install
the Android SDK or unlock your bootloader. This sounds like a lot of
scary work, but it's not difficult and knowing how to use these tools
will help if things go wrong.
Here is our comprehensive walk through of how to set up and install the Android SDK
Depending on which phone you have, unlocking the bootloader is
slightly different. The "standard" way is by using the OEM unlock
command, which is outlined here.
If you're using a Motorola, HTC or LG phone (as well as other brands
like Huawei or Sony) you'll likely need to get a token you enter during
the process. You'll find how to do that and who to get it from at each
vendors developer pages. Remember that unlocking the bootloader on your
Android may affect the warranty status.
Using commercial root apps
Using commercial rooting apps like Kingo Root or towelroot is
straightforward, and can be done with or without a computer. While these
apps can't root every phone, the people who make them are doing as best
they can to keep the applications current.
While we can't validate the theories that these applications could
potentially contain malware or send your data off to a server in some
unfriendly nation, plenty of folks around the web have expressed
concerns and doubts. You shouldn't ignore them. We recommend that you
factory reset your Android before you download, install or run these
applications to be safe. Your phone will remain rooted afterwards, and
you can factory reset once again then sign in normally. Better safe than
sorry.
Using Kingo Root
You can use Kingo Root with or without a computer. You'll find the download for both methods at the
Kingo Root page — just select the one you want to use.
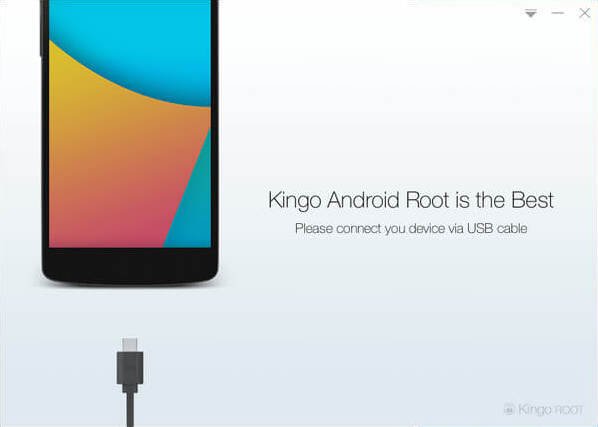
If you're using a windows computer with Kingo Root, you'll need to
have the correct USB drivers installed on the computer you're using. If
you don't have these, the Kingo Root program will try to locate and
install the correct ones during the process. Simply plug your phone into
the computer and start the application. It's as simple as letting the
software set things up, then you click the button labeled "root" in the
software. As long as your phone is supported, the rest is automatic.
You'll see a list of recommended root application to install after the
procedure is finished, but if the program say it was successful your
phone should have the superuser unlocked .

It's easier to try and use the Kingo Root app on your phone to root. After you've downloaded it (and allowed sideloading of apps)
you charge your phone to at least 50% and run the app. There's only one
button to press, and after you tap it the rest is automatic. If the
stand-alone version isn't successful, the computer version might be.
Full instructions and tutorials for supported phones can be found at the
Kingo Root support page.
Using towelroot

Towelroot is a popular rooting app written by Geohot, the well-known iPhone hacker. Using it is really easy:
- Download the towelroot application from the official site
- Install the app (after you allow sideloading) and run it by tapping the Lambda (the Greek letter) symbol in the middle of the app window
Towelroot will attempt to exploit the running kernel, giving
temporary access to the system files. Once that happens, the correct
files needed to run as root are pushed to the file system. A quick
reboot later, and you're rooted.
Only install towelroot from the official towelroot
page. There are plenty of mirrors and variants out there, but it's
always safest to get files like this directly from the source.
How to root my phone?
How you root your Android is going to depend on which one you have.
There are over 12,000 different Android models (and that's only counting
ones that can access Google Play) from hundreds of different
manufacturers. Some of those are easy to root, while some of them
aren't. There are even models that will probably never be able to be
rooted because the people who make or sell them just don't want you to
be able to do it. And that's OK! Android means choice, and every person
who wants a security-focused device that won't likely ever be rooted
like the BlackBerry Priv should be able to buy one. And people who want a device that's easy to root
(with all the tools and files needed to unlock it provided by the
manufacturer) can buy one. This is something to keep in mind when you're
buying your next phone and you should support the manufacturer who
shares your thoughts about rooting.
The best Android phones
With over 12,000 different models, we can't cover every single method
to root every single device. We can point you in the right direction
and help you get there, though.
Rooting your Samsung phone
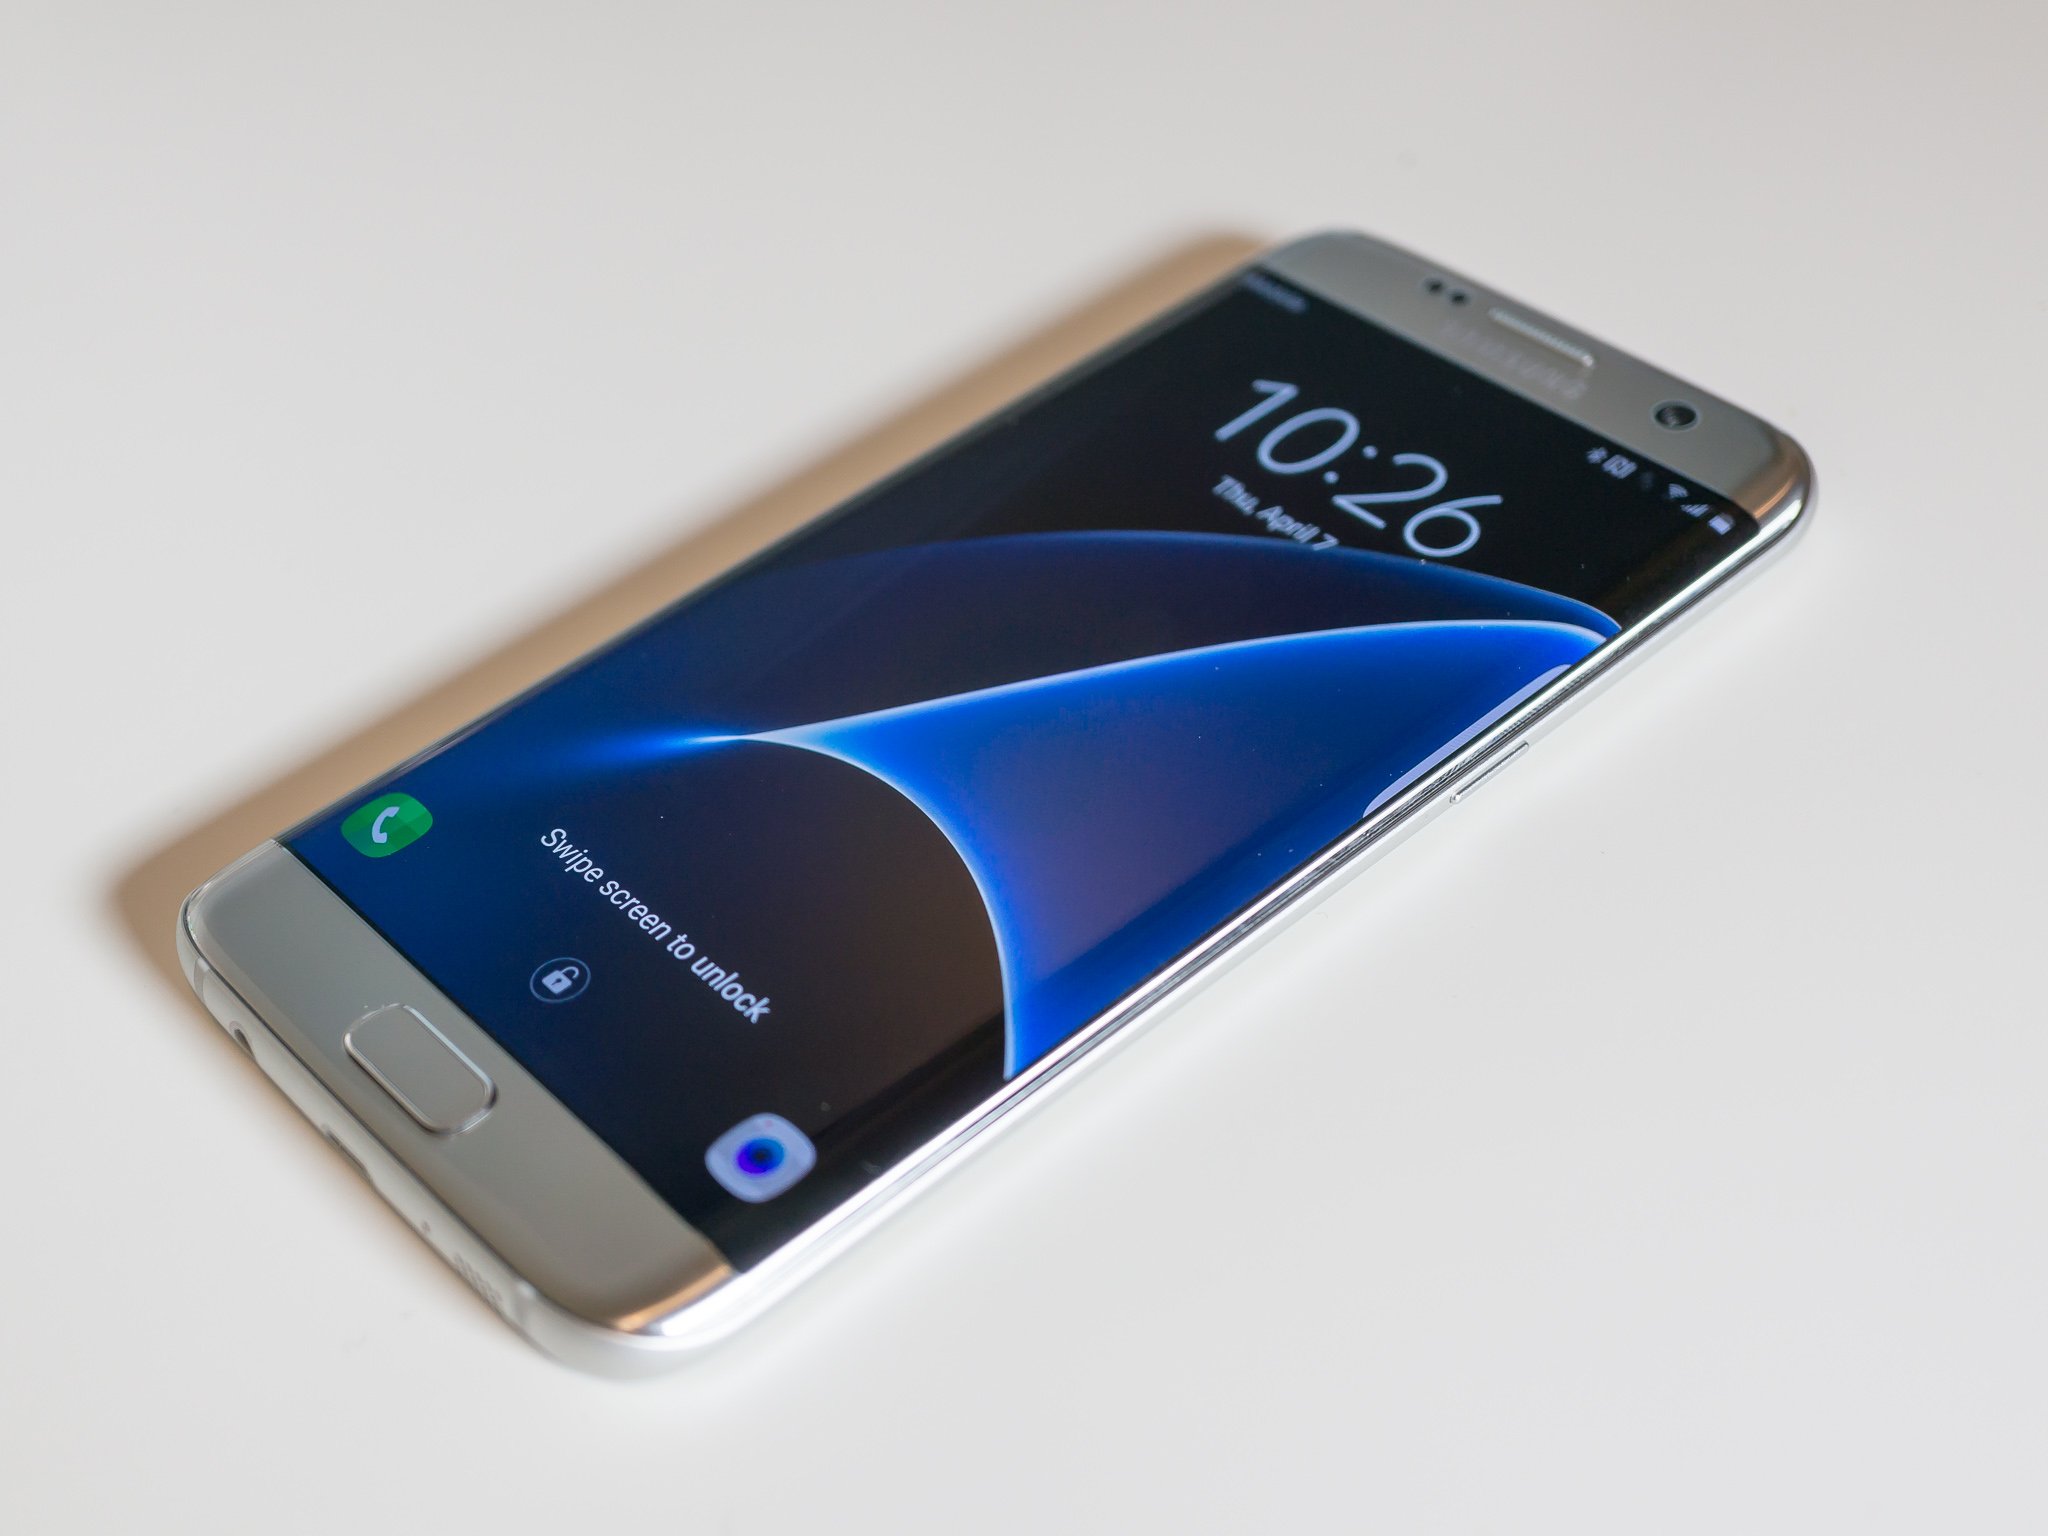
Samsung used to offer "developer editions" of their popular models,
but weak sales (they usually needed to be paid for in full with no type
of subsidy or financing) they seem to have stopped production. We have
only ourselves to blame — it's just not worth making something that
nobody is buying.
Samsung also makes very lucrative deals with carriers, and most of
the time those carriers want to prevent you from rooting your phone.
Recent models from AT&T or Verizon are notoriously difficult to
exploit, and all the U.S. versions of the Galaxy S7 are locked up and
encrypted. There might not ever be a way to root them. This isn't true
for unlocked models sold outside of North America though.
Knox can pose special problems when trying to root.
To root most Samsung phones you'll need to use a program called
Odin.
It's a low-level firmware flashing tool that can push image files to
the storage and overwrite existing images. You'll also need the correct
USB drivers for Windows computers. If you're using a Mac computer or
running Linux, the software that flashes images is called
Heimdall.
They both work essentially the same, and carry the same risks — if you
try and flash the wrong image or a bad image, your phone isn't going to
be able to start. While this is often recoverable, know that there is
always a chance you can ruin your phone or tablet, and your warranty is
voided as soon as you begin.
Also, many Samsung phones ship with
Knox security
enabled. Knox is part of Samsung's special "Samsung Approved For
Enterprise" feature where personal and work environments can be
separated in a way that allows both to coexist on the same device. Knox
can pose special problems when trying to root a phone that uses it, and
it has a software counter that can show when device firmware has been
tampered with. This means it's very easy for Samsung to void your
warranty if you start fiddling with things.
Rooting your LG phone
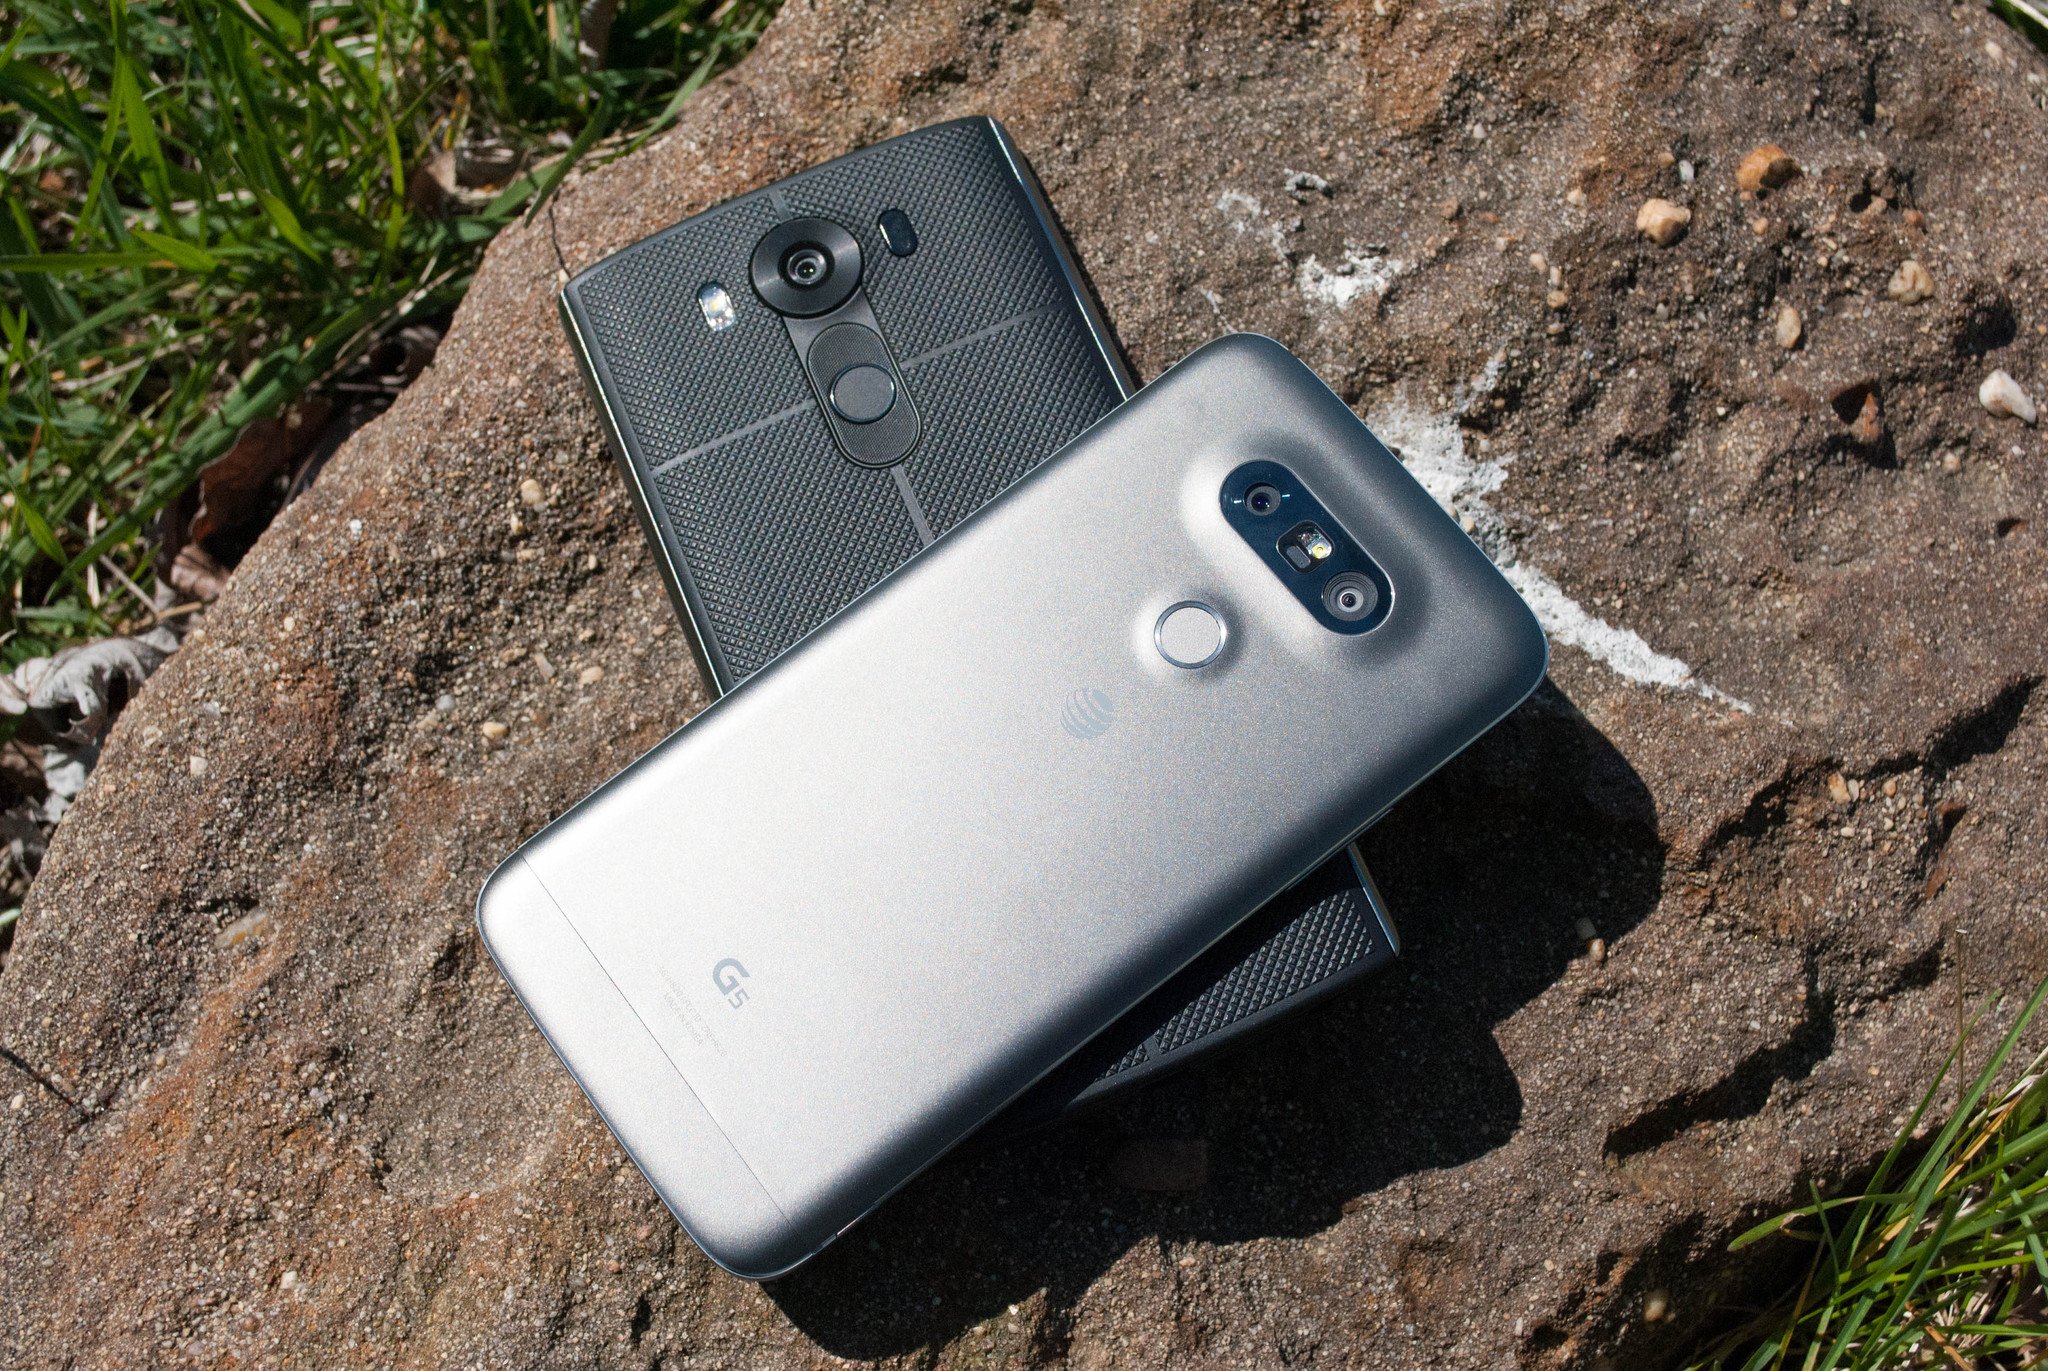
LG phones have several different methods to install the files needed
for rooting. Some are completely bootloader unlockable and it's trivial
to push the files through a custom recovery, while some are locked up
tighter and require some special tricks. As we see with Samsung phones,
carriers have a lot of influence here, so many AT&T and LG models
take longer to find a method to root.
The LG G5 is simple to root, and you can do it without a computer
with both commercially available rooting apps as well as apps from
Android enthusiasts like yourself. There are security questions any time
you use software built by someone else that could potentially have full
access to all the data on your phone or your computer, and you'll need
to read everything you can and decide if you want to go this route. Apps
like
OneClickRoot or
AndroidRootPro
are a few examples. There are plenty of satisfied users as well as
users who question the methods. Listen to both sides and decide what you
think here. An alternative is unlocking your bootloader and installing
an open-source custom recovery that you can use to flash the needed
files or even pre-rooted firmware. This requires a little bit of
computer knowledge, but it's not that difficult.
Rooting your HTC phone

Much like LG phones, many HTC models can be bootloader unlocked through the HTC Developer program.
You'll find complete instructions for doing it here, as well as warranty information you need to know if you give it a try.
The HTC 10 is easy to root, and using the HTC Developer tools to
unlock the bootloader allow for sending images to the phone to enable
rooting and even more. There are also commercial services like
Sunshine
that can root your phone through an app or provide mail-in services
where they do it for you. Again, it's up to you to decide if you feel
comfortable with these services or if you would rather use the Android
SDK and do things the manual way. Both methods are known to get you
rooted and ready to do the things you wanted root to do.
Rooting your Lenovo (Motorola) phone

Motorola also offers a pretty liberal bootloader unlocking policy, which you'll find
at their developer site.
Using the standard Android SDK tools, you can unlock your bootloader so
that a custom recovery image can be flash. This allows you to flash any
other system image to your phone.
If your Motorola phone isn't covered under their bootloader unlocking policy (
see the list here) — this means Verizon, of course — you might have to resort to exploits or commercial software like
MOFOROOT or
OneClickRoot.
Once again, we have to remind you about using tools created by someone
else that may have admin access on your phone or your computer, but the
option is available.
We're waiting to see if the coming generation from Motorola is as
developer friendly as they have been in the past, and we'll update
accordingly.
Rooting your Nexus phone
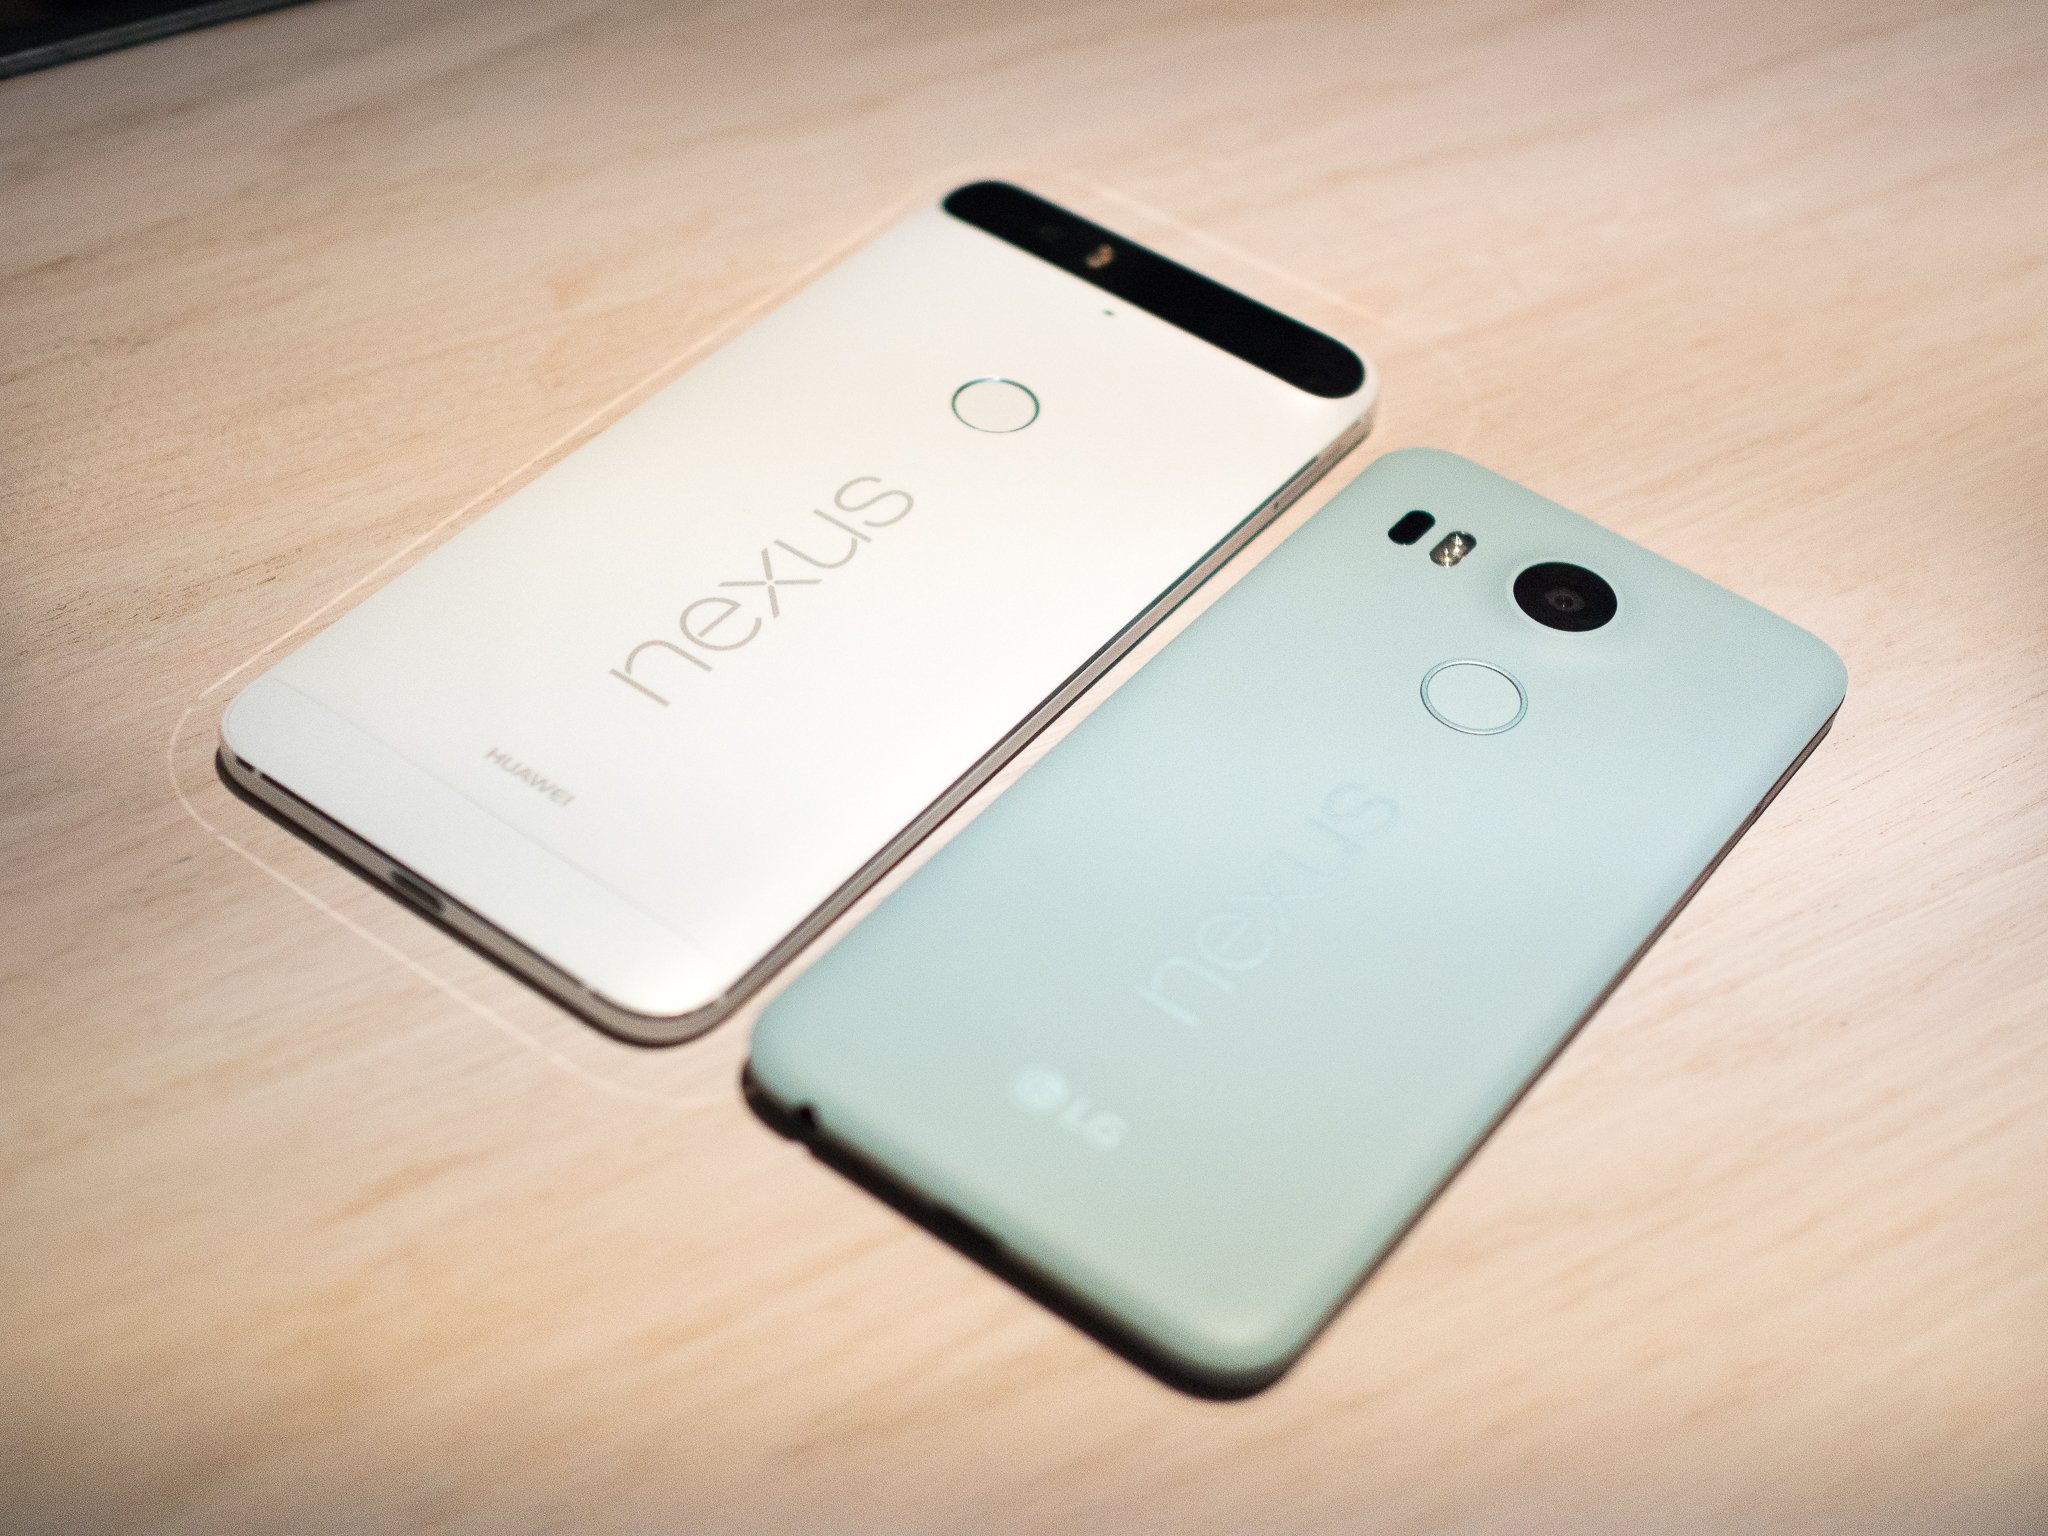
To root your Nexus phone, you should start with learning how to install and configure the Android SDK.
There are plenty of one-click scripts or toolboxes that will unlock
your bootloader and get you ready to flash (or even flash it for you) a
custom recovery, but there's a great reason to learn how to do it
yourself — you are able to fix most anything if it goes wrong by using
the
Nexus Factory Images.
Google not only supports unlocking your bootloader, they also give
you full and complete instructions on how to do it, how to flash
third-party images and how to go back. Unlocking the bootloader doesn't
break any warranties as Google realizes that there are many valid
reasons to flash experimental on the developer/reference device for
Android. Take advantage of this, and use the tools Google provides!
Once a third-party recovery image is flashed, you're easily able to
push anything you need for root or any other image to your Nexus.
Because it's the reference phone and easy to alter, you'll find plenty
of tools and resources for things you can do after you've rooted. We
highly recommend a Nexus phone to anyone who wants to tinker with the
Android software platform.
Other phones
As mentioned previously, there are over 12,000 current Android models
from hundreds of manufacturers. There's no way to include each and
every one on a single page.
Some of these phones come with a method (either apporved by the
manufacturer or found by a third-party) to unlock the bootloader and use
the custom recovery method to root them. Many of these other phones can
be rooted with applications like
Kingo Root,
with or without access to a computer. Phones from names you know, like
Sony or Hauwei, are supported as well as phones from companies you might
not have heard of like Vivo or Phicomm. You'll find a
partial list of supported phones here.
Commercial root apps work, but check out the pros and cons before you use them.
Apps like Kingo Root work because they take advantage of an exploit
(a bug or glitch) in the software. This means that many security
applications will identify them as a virus, and that software updates
can (and do) break compatibility with them. Not every phone can be
rooted through an app that leverage an exploit, but many can. It's
certainly worth a look to see if your particular phone is supported.
These services are profitable, and profitability means time and money is
spent to keep them current and working on as many models as possible.
Here's where we will discuss the ethics of companies like Kingo Root
or OneClickRoot. It's good to question the methods and motives behind
any company that wants access to potentially sensitive information, and a
healthy dose of skepticism is a good thing. A lot of folks feel that
these kinds of apps are unsafe or follow unsafe practices, and they may
be correct. On the other hand, plenty of people have used the apps and
services and are completely happy with the results. We can't speak on it
either way, as we're not involved in the creation or testing of any of
these apps. Our job is to inform you that they exist, and let you know
that there is always a bit of inevitable controversy surrounding them.
Where to go from here?
Now that you're armed with a bit of information about what root is,
why you might want to do it and where to go to find the methods, you're
able to do some legwork.
The most important part of the entire process is to read. Find every
bit of information about rooting your particular phone or tablet, read
up on the intricacies of the Android SDK and flashing a custom recovery
for your phone, and find out how to go back
before you connect
any cables or install any software. Even the easiest phones to root
require some general computer knowledge — your Android
is a
computer — so you should make sure you're able to understand things like
working with zip files or using a file manager. Remember — it's always
OK to have questions and ask for help.
A good place to start is in forums. Our forums are filled with people who hack and crack at Androids for fun, and other resources like
XDA Developers forums
can be a goldmine of information. Never overlook information that's
readily available when it comes to hacking at your expensive phone.
Rooting offers a long list of possibilities for responsible and safe
users, so make sure you're informed and careful and have fun!